
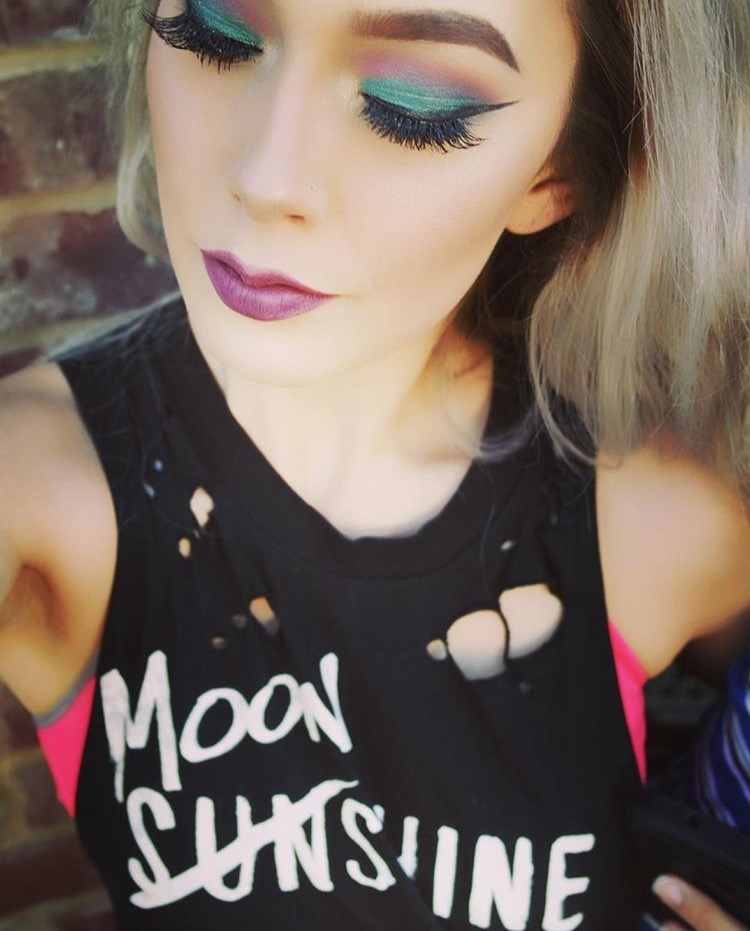
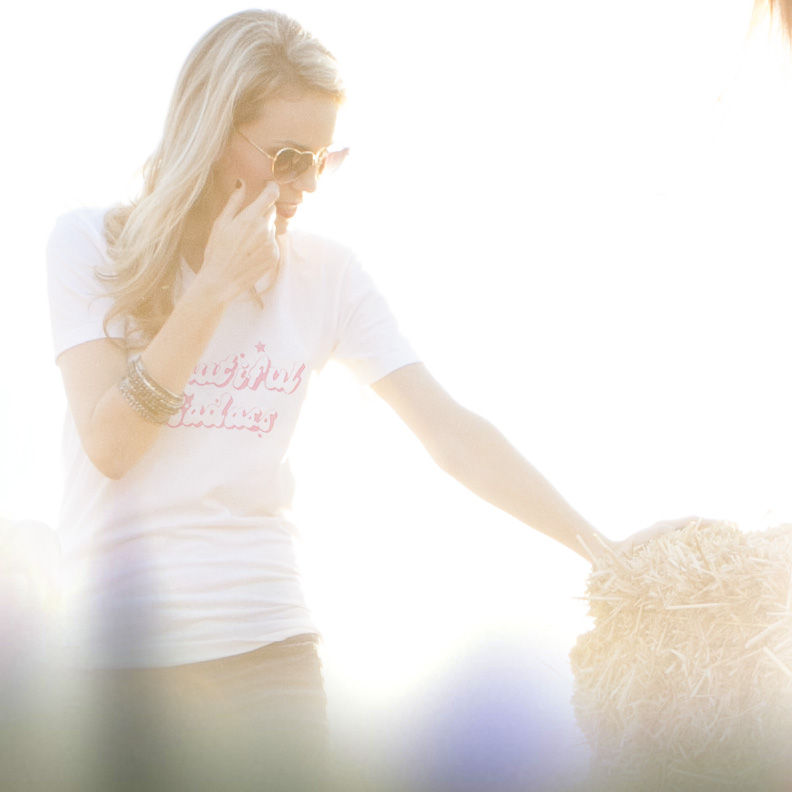
BEYOND flattered to see the beautiful muse Angie Keilhauer rocking our custom made MOONSHINE tank in her new video Born to Drive!
Check out a sneak peek of the new video here
BEYOND flattered to see the beautiful muse Angie Keilhauer rocking our custom made MOONSHINE tank in her new video Born to Drive!
Check out a sneak peek of the new video here
Saturday mornings to me =
To all of you out there who have the time and energy to curl, straighten or crimp your beautiful locks… I envy you. More power to you as you step outside with your perfectly styled updo. Unfortunately for me, it’s hot as HELL here in Florida right now and I just don’t have the patience or desire to feel the sweat dripping down the back of my neck. I like style that is quick and easy, and will allow me more time to enjoy the things I love! Like iced coffee.
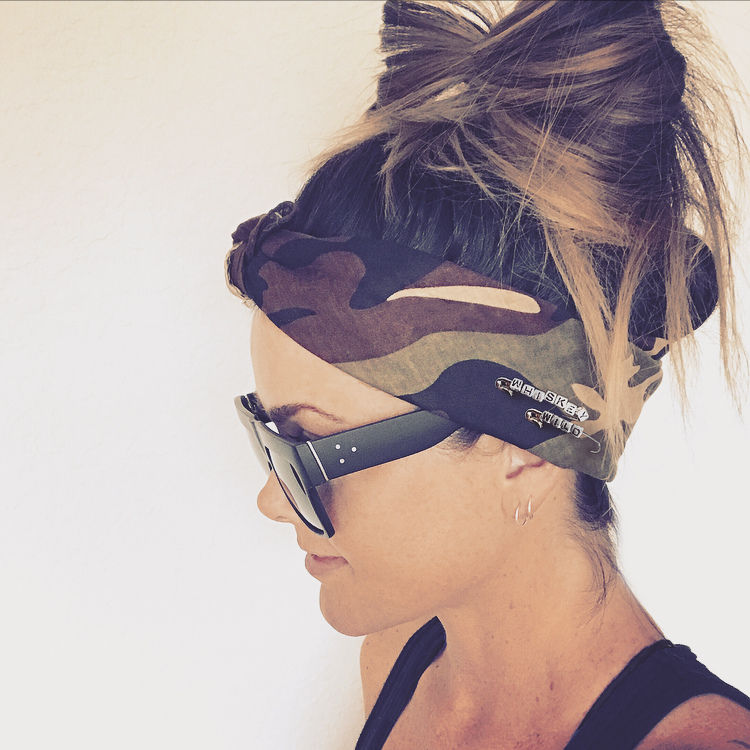
Quick and easy doesn’t have to be boring. All weekend long we will be giving you 3 of these adorable Bandana Bling pins with your purchase! Not fond of the sayings we chose? Simply type in the words you would like on your pins in the comment section at checkout.
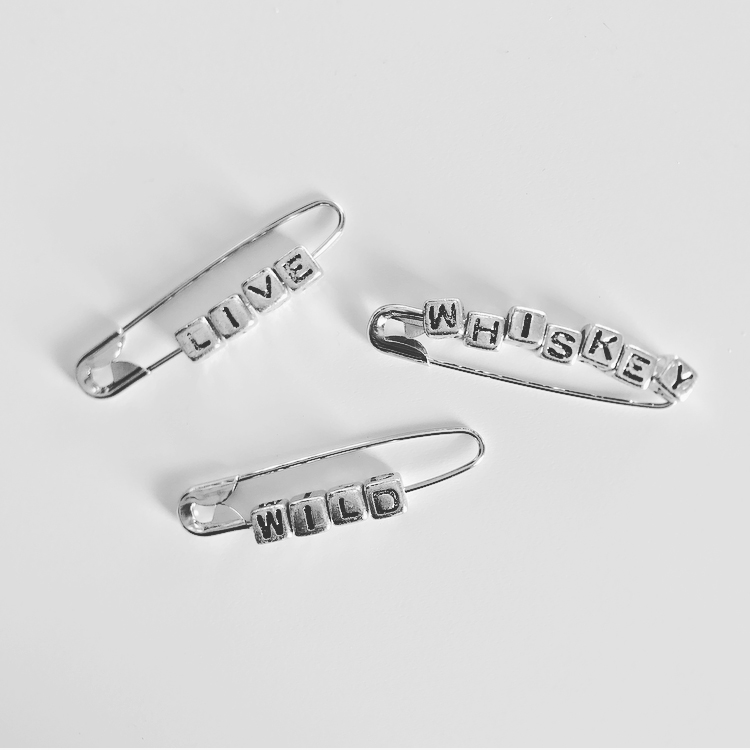
*Remember! Words must be 7 letters or less
Enjoy your weekend!
xo Theresa
Have you heard? The beautiful Brittany Brinson has featured us in her “A Few of My Favorite Things” blog! Take a peek here!
I have to be honest.
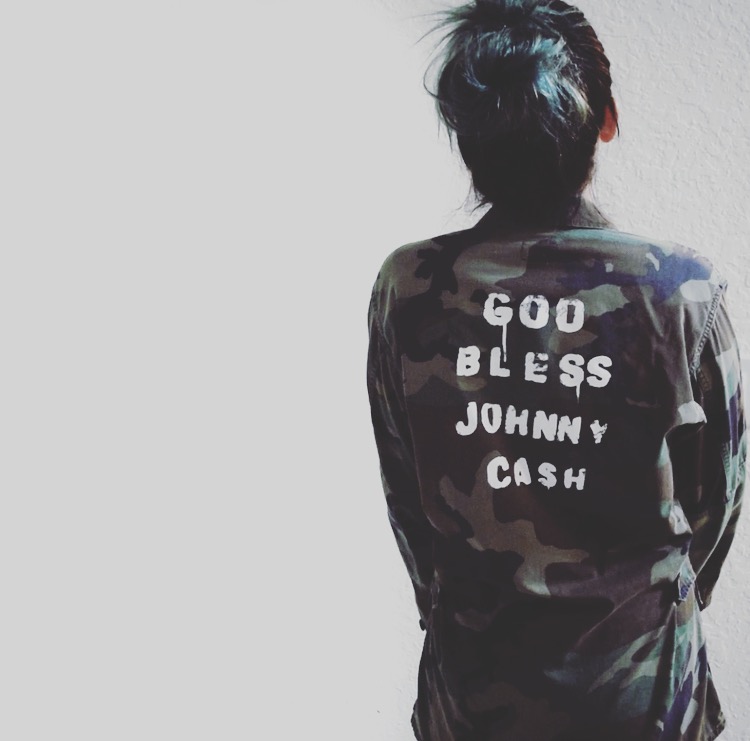
I love this thing so much, I don’t really want to put it up for sale. But since it’s for a good cause…
Meet the fabulous Upcycled Johnny Camo Utility Jacket. Love at first wear.
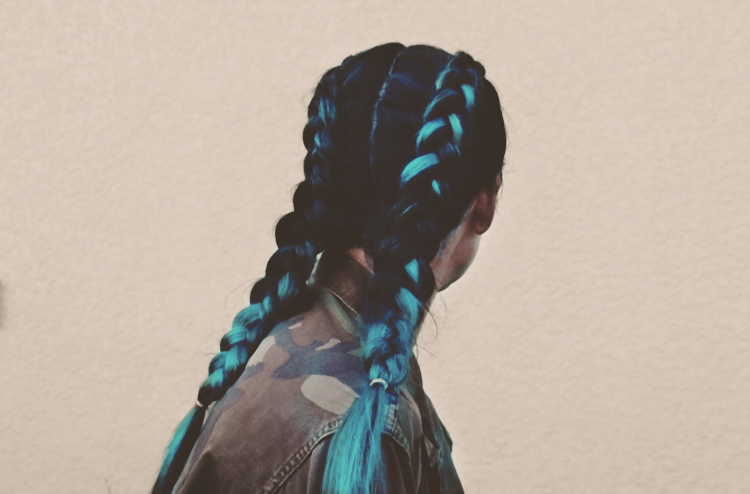
I can be realllly good at messing things up. That is why when my best friend sent me this new Viral Colorwash, I thought for sure I would find a way to do something wrong and have to bury my head for a week. But somehow… they make this stuff soooo easy to use, you really can’t mess it up!
Viral Colorwash adds extreme bold tones to pre-lightened hair, then lightens and fades out as you shampoo regularly. It’s basically the best way to play around with color, without having to commit.
To get this look I used the Teal Viral Colorwash which you can get here. They have a lot of really great colors to choose from, but I chose this one for my first use.
My roots were already pretty dark, so from that point down I just started working the Viral Colorwash into my hair… dry! I actually did not use any water- yet. I worked the blue product alllll throughout the blonde in my hair (wearing gloves of course) and then let it sit for about 13 minutes. I then sprayed my hair with a little bit of water from a spray bottle, and kept working the product into my hair like shampoo. With the added water, it started to foam up and was even easier to work with.
About 2 minutes later I hopped into the shower and got my hair wet. I rubbed the product in even more, this time really getting it into my roots as well. (The only bit of caution I would give at this point, is if color splatters on your shower walls, rinse it off asap so it doesn’t stain!) After working it into my roots, I rinsed my hair completely clean of the colorwash. I added a little bit of conditioner to my ends (cause I tend to be a knotty mess) and followed with a good blow dry. That’s it! No stress, no commitment, and you are in control of the boldness of the color!
I started out bold, but you can always do a light wash first, then continue to use it to build up more and more color if you’re a bit timid.
For more details about the Viral Colorwash, I’ve included a link to their FAQ page here
Happy Holidays from Hell and High Water! xo

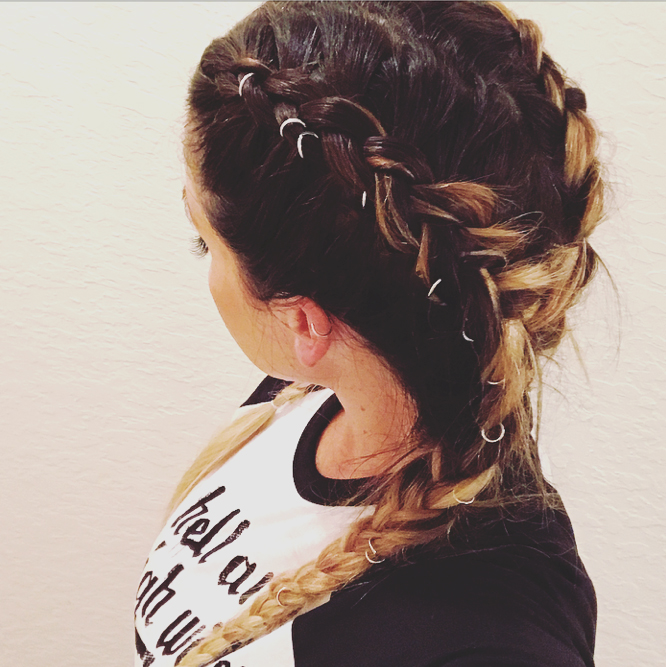
Looking for a way to spice up your bedhead braids? I’ve got just the thing.
One of the (somewhat) more recent trends are pierced braids. People are piercing their strands, and it’s becoming a staple for your hair game. Maybe it’s been around for a minute, but I needed a little time to interpret this trend and make it affordable for the average gal. So here’s what I did… (and it only costs $2.99)
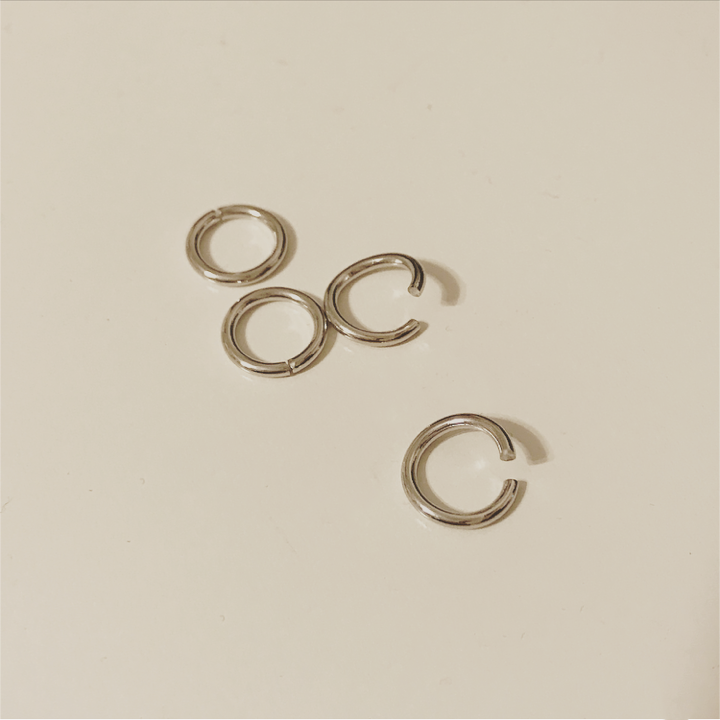
1. First stop, the local arts and crafts store. Out here my go-to store is the good ol’ Hobby Lobby. I’m sure you can pick these up in the bead and jewelry-making section of any crafty shop. I found these rings that have a little bit of thickness and rigidity, but you can still twist them open with your fingers.

2. Twist those suckers open. Just enough to loop around a small chunk of hair in your braid. Then twist it closed. Easy enough, right? I just went to town and started placing them all up and down my braids.
3. The messier the look, the better (in my opinion). To finish off the style I used a little trick called ‘pancaking.’ The idea is to make your braid flatter (like a pancake), looser and more disheveled looking. Gently pull apart each section of the braid with your thumb and pointer finger, and if the ends of your layers stick out, just go with it. Messy is good.
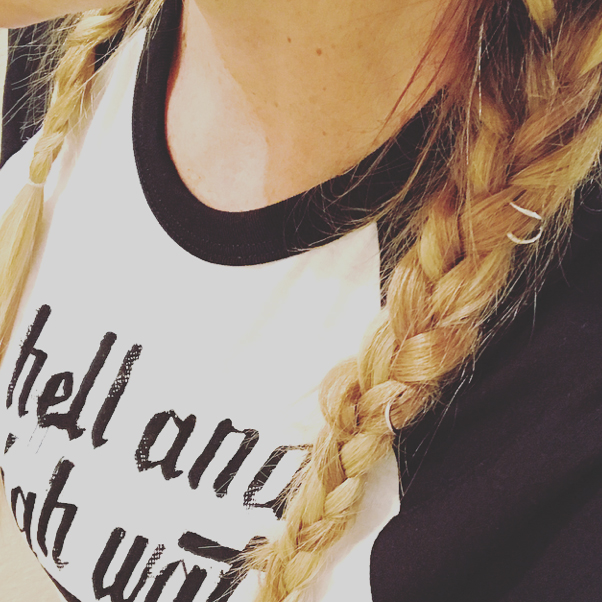
If you give this a try, don’t forget to tag me on Instagram #HellAndHighWater. I’d love to see it! xo
As with all of our products, a portion of the sale will be donated to provide art therapy for young cancer patients and their families ♥ Shop the Beautiful Badass tee now

Friday is like a superhero that arrives just in time.
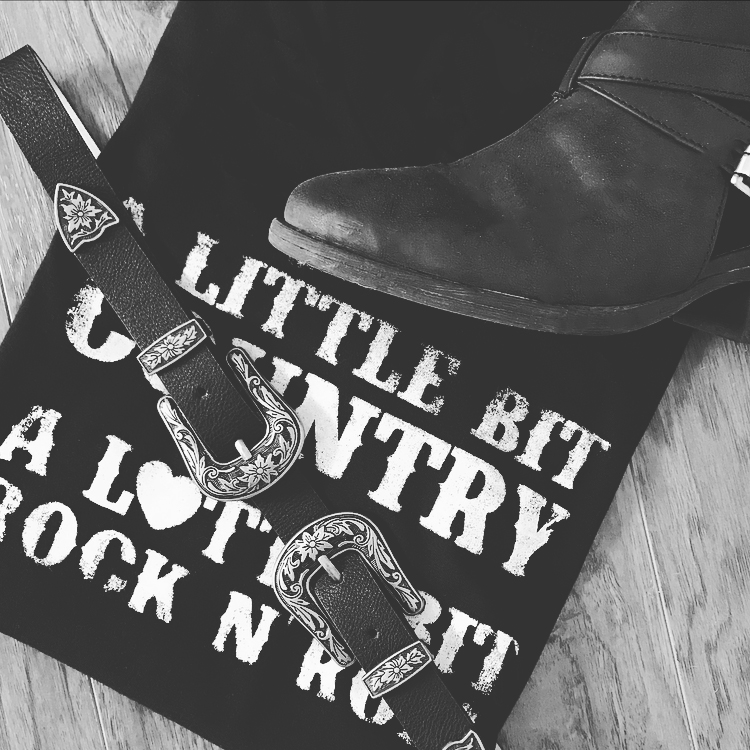
Little Bit custom made muscle tank available HERE